1.下载模板
可以选择Ubuntu
2.通过模板创建LXC容器
换源
sudo nano /etc/apt/sources.list
替换源
deb http://mirrors.aliyun.com/ubuntu/ bionic main restricted universe multiverse
deb http://mirrors.aliyun.com/ubuntu/ bionic-security main restricted universe multiverse
deb http://mirrors.aliyun.com/ubuntu/ bionic-updates main restricted universe multiverse
deb http://mirrors.aliyun.com/ubuntu/ bionic-proposed main restricted universe multiverse
deb http://mirrors.aliyun.com/ubuntu/ bionic-backports main restricted universe multiverse
deb-src http://mirrors.aliyun.com/ubuntu/ bionic main restricted universe multiverse
deb-src http://mirrors.aliyun.com/ubuntu/ bionic-security main restricted universe multiverse
deb-src http://mirrors.aliyun.com/ubuntu/ bionic-updates main restricted universe multiverse
deb-src http://mirrors.aliyun.com/ubuntu/ bionic-proposed main restricted universe multiverse
deb-src http://mirrors.aliyun.com/ubuntu/ bionic-backports main restricted universe multiverse
依次执行命令
sudo apt-get update
sudo apt-get upgrade -y
apt install git qemu-utils make -y
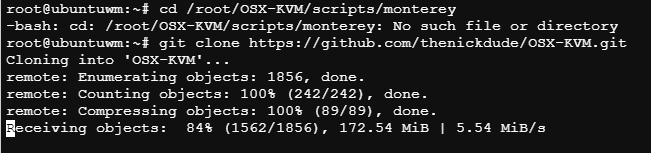
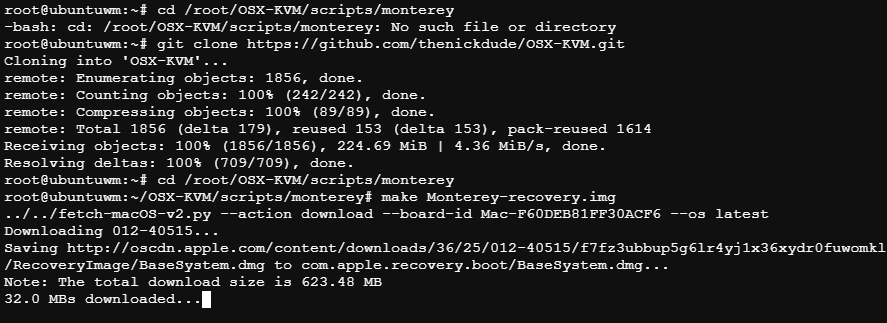
git clone https://github.com/thenickdude/OSX-KVM.git
cd /root/OSX-KVM/scripts/monterey
make Monterey-recovery.img
如果要下载其它系统可以更改命令
cd /root/OSX-KVM/scripts/ventura
make Ventura-recovery.img
将制作好的镜像拉到pve
需要在pve里shell里执行
pct pull 112 /root/OSX-KVM/scripts/monterey/Monterey-recovery.img /var/lib/vz/template/iso/Monterey-recovery.img
pct pull 112 /root/OSX-KVM/scripts/ventura/Ventura-recovery.img /var/lib/vz/template/iso/Ventura-recovery.img
3.下载OpenCore
同样在pve里的shell执行
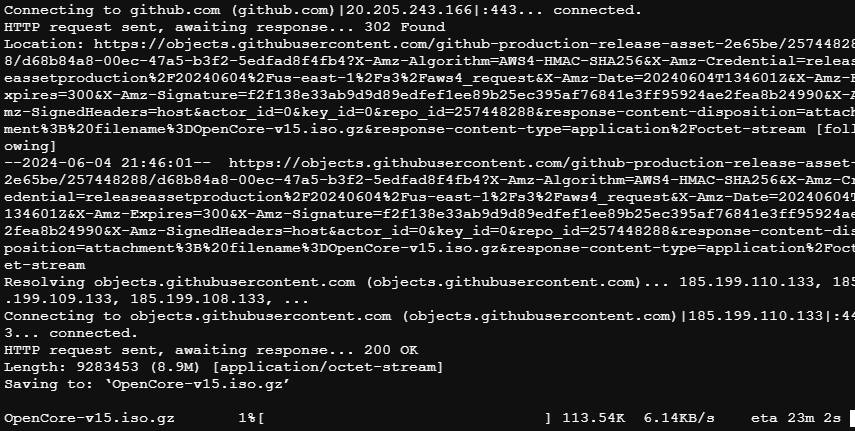
cd /var/lib/vz/template/iso/
wget https://github.com/thenickdude/KVM-Opencore/releases/download/v15/OpenCore-v15.iso.gz
gzip -d OpenCore-v15.iso.gz
下载速度有点慢
避免循环引用
echo “options kvm ignore_msrs=Y” >> /etc/modprobe.d/kvm.conf && update-initramfs -k all -u

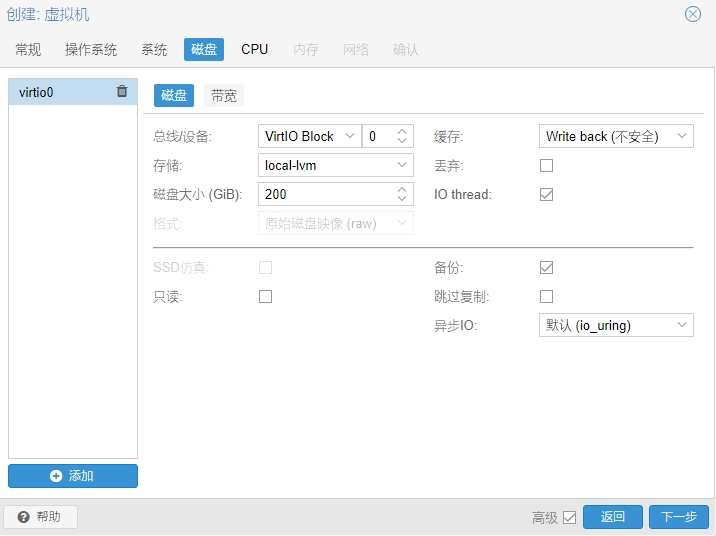
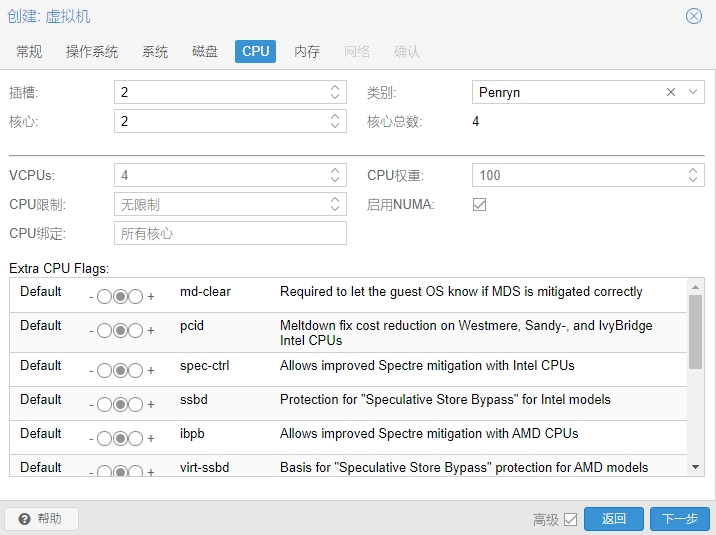
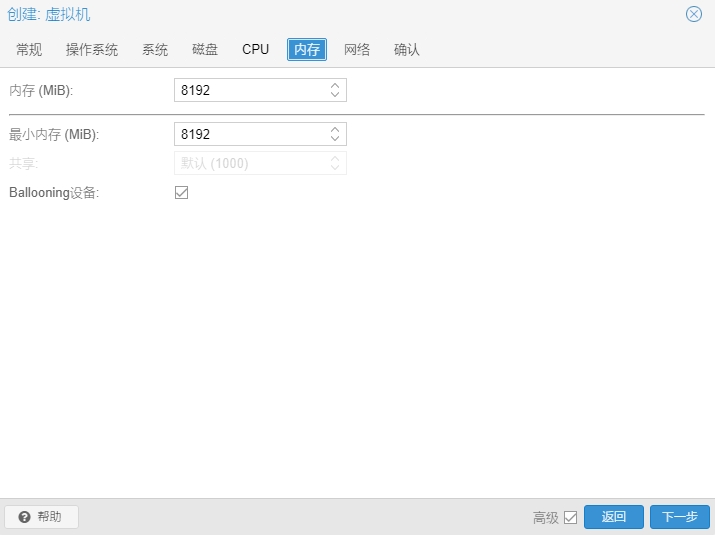
4.创建虚拟机
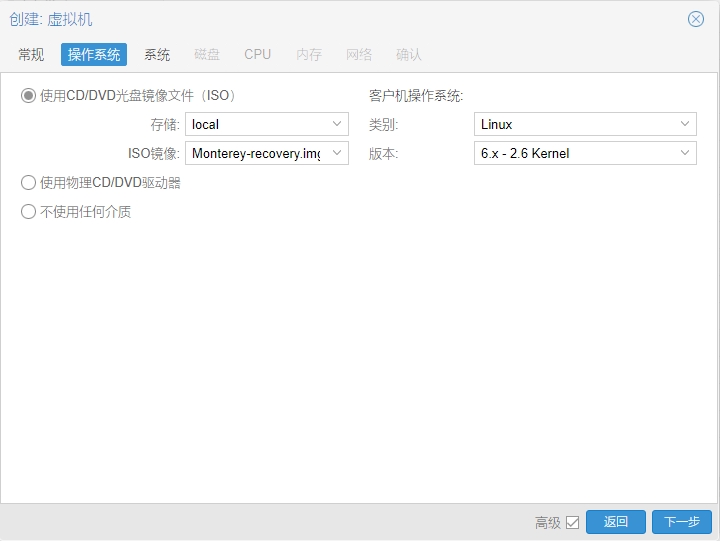
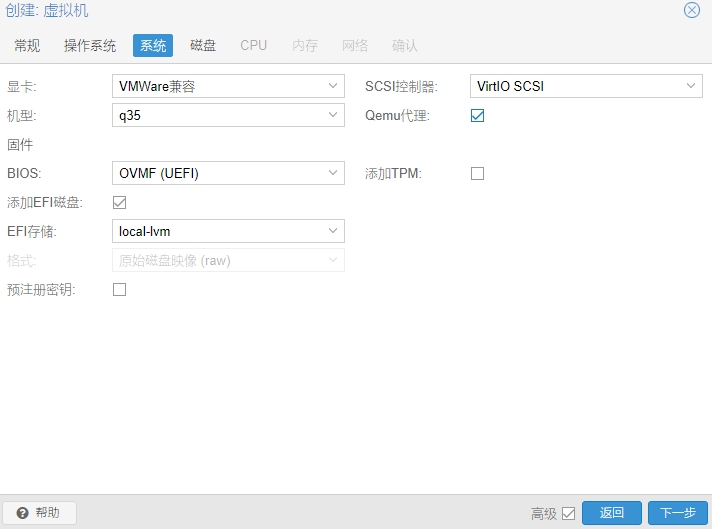
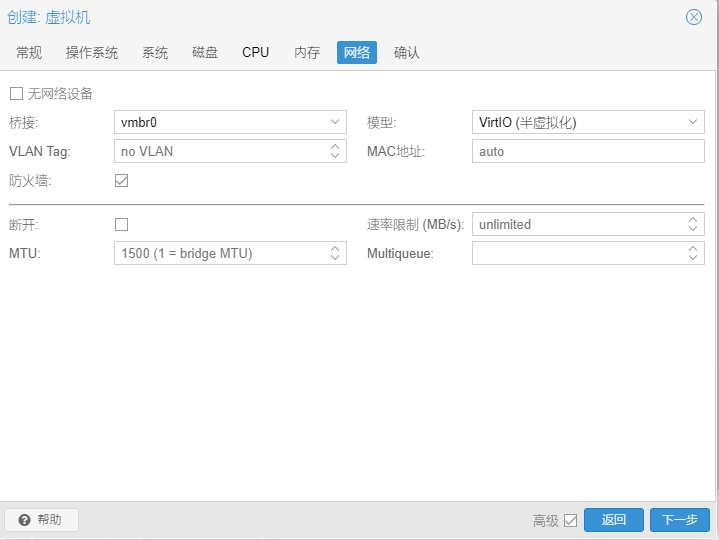
修改配置/etc/pve/qemu-server/113.conf
args: -device isa-applesmc,osk=”ourhardworkbythesewordsguardedpleasedontsteal(c)AppleComputerInc” -smbios type=2 -device usb-kbd,bus=ehci.0,port=2 -global nec-usb-xhci.msi=off -global ICH9-LPC.acpi-pci-hotplug-with-bridge-support=off -cpu host,vendor=GenuineIntel,+invtsc,+hypervisor,kvm=on,vmware-cpuid-freq=on
将media=cdrom改为cache=unsafe

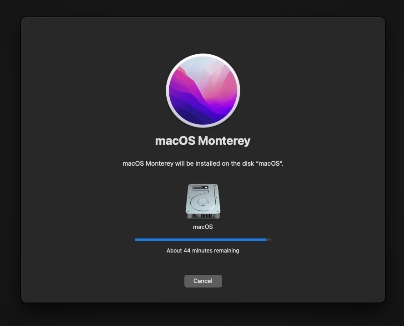
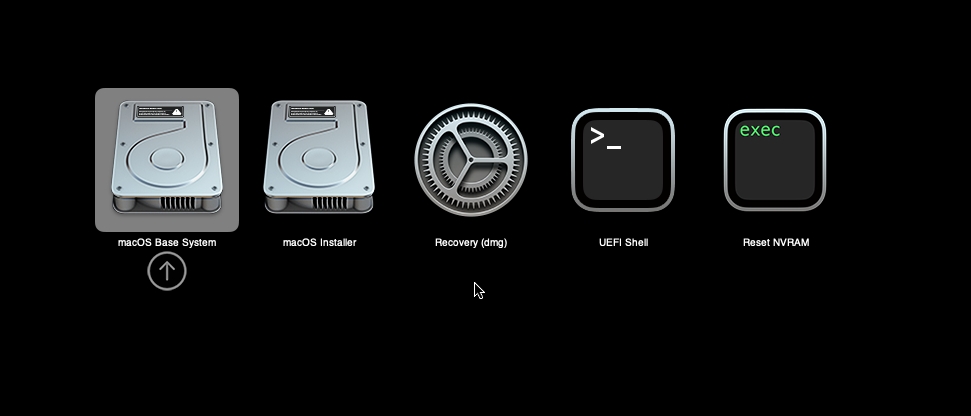
启动虚拟机开始恢复安装,如果遇到无法启动,修改一下引导顺序。

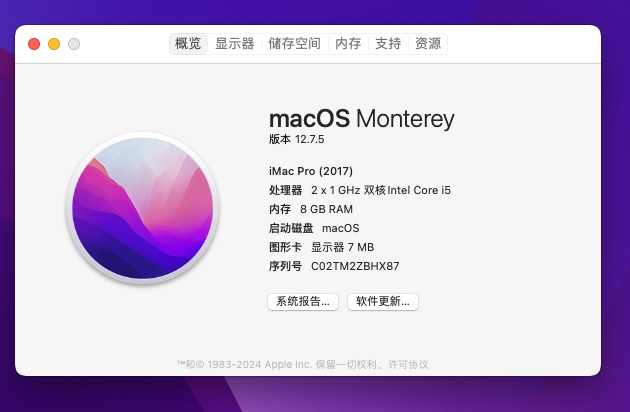
使用起来很卡。